

A customizable checkout is any payment flow whose appearance, fields, payment methods, or logic you can modify beyond a vendor's default template. For most teams, the right move is starting with a hosted or SDK based checkout for speed and compliance, and reserving a fully custom build for cases where business rules genuinely demand it. The sections below walk through the tradeoffs, the technical patterns, and a checklist to get there.
TL;DR:
- Hosted checkout options control branding but limit customization, while fully custom integrations provide maximum control but increase engineering complexity.
- Four main technical patterns—hosted pages, embeddable elements, UI extensions, and server APIs—offer different levels of control, often with associated costs or plan restrictions.
- Building a secure checkout requires server-side order creation, client-triggered payment confirmation, and verification of payment signatures to prevent fraud.
- Testing should cover all payment flows, webhook security, and error handling before launch, ideally with staged rollouts and feature flags.
- Many teams benefit from integrated payment platforms that simplify setup and optimize funnels, reducing ongoing maintenance compared to custom build efforts.
Table of Contents
- Hosted vs. Fully Custom: Which Checkout Should You Build?
- What Technologies Let You Customize a Checkout?
- How Do You Build a Customizable Checkout Step by Step?
- How Do Order Creation and Webhook Verification Work?
- What Should Your Checkout Testing Checklist Cover Before Launch?
- The Commas Take on Building Checkout Infrastructure Yourself
- Skip the Checkout Build. Start Selling Instead.
- Sources
Hosted vs. Fully Custom: Which Checkout Should You Build?
The decision comes down to how much your billing logic deviates from the standard buy button.
A hosted checkout page or an embeddable payment element keeps most sensitive card data off your servers, which shrinks your PCI compliance scope dramatically compared to a homegrown payment form. You also ship faster, since the provider maintains the fraud checks, 3D Secure flows, and card network updates for you. That speed comes at a cost: less control over layout, and sometimes a ceiling on how far you can push branding or field logic.
A fully custom integration gives you total control over every pixel and every business rule, but you inherit the engineering burden of maintaining that surface, testing every payment method against edge cases, and keeping up with card network changes yourself.
Use these signals to decide:
- Go hosted or SDK based if you sell standard products, subscriptions, or courses with typical pricing.
- Go fully custom if you have unusual billing logic: usage-based pricing, marketplace splits, or a highly bespoke multi-step checkout UI.
- Go hybrid if you need custom fields or upsell logic layered on top of a hosted payment core, which is what most mid-sized teams end up building.
What Technologies Let You Customize a Checkout?
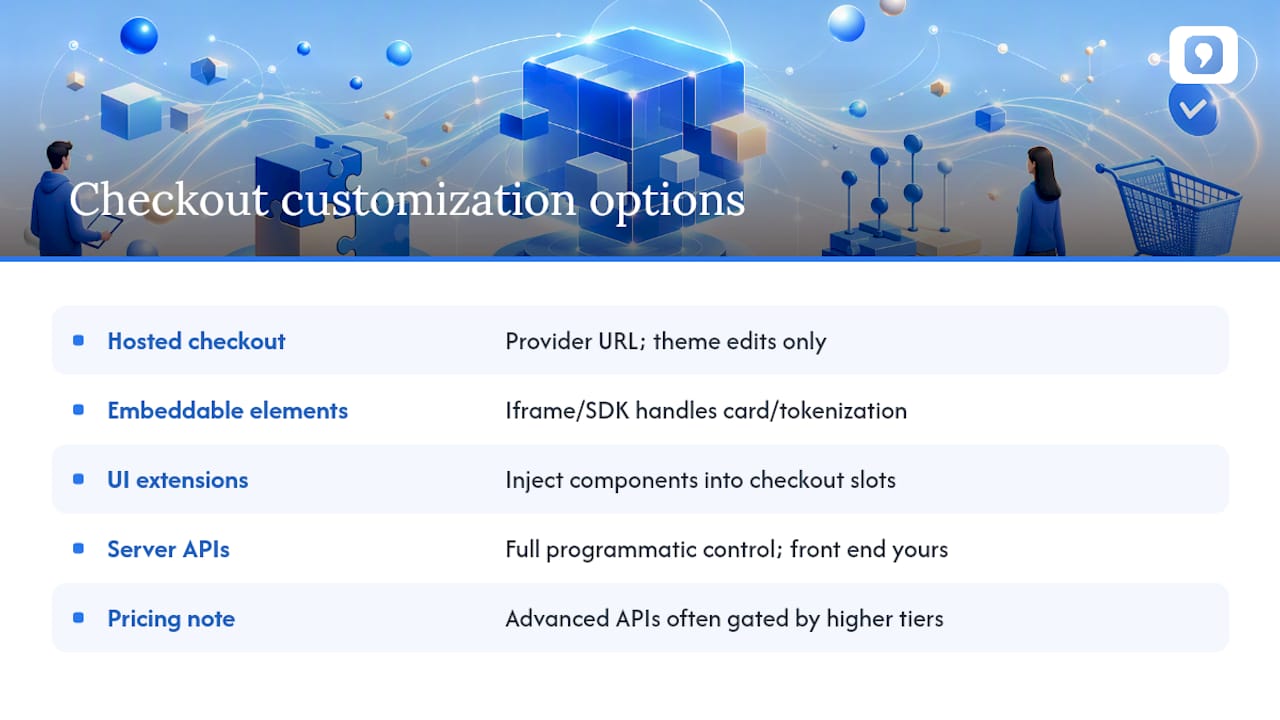
Four integration patterns cover almost every customizable checkout on the market today, and each hands you a different slice of control.
Hosted checkout pages redirect the customer to a provider-managed URL. You control colors, logos, and copy through a theme editor, but the page structure itself stays fixed. This is the fastest path to a compliant, branded checkout experience.
Embeddable payment elements (often delivered as an iframe or JavaScript SDK) sit inside your own page shell. You build the surrounding cart, fields, and upsell widgets, while the element itself handles card entry and tokenization. Business logic (pricing, discounts, tax) lives in your application; payment logic lives in the element.
Checkout UI extensions let you inject custom components into specific slots of an existing checkout, such as a loyalty points widget or an extra terms checkbox, without rebuilding the whole flow.
Server side APIs give you full programmatic control over order creation, line items, and payment method selection, but you're responsible for the front end entirely.
A practical constraint worth flagging early: advanced APIs and extension points are frequently gated behind higher pricing tiers, so confirm plan availability before you architect around a feature you haven't verified you can access.
How Do You Build a Customizable Checkout Step by Step?
Once you've picked hosted, embedded, or custom, the implementation work follows a predictable sequence.
- Branding first. Set fonts, colors, logos, and button copy through the provider's theme settings or your own CSS. Keep contrast ratios and semantic HTML intact so screen readers still parse the form correctly.
- Design your fields. Decide what's required versus optional, which fields prefill and lock (like a logged-in user's email), and where custom fields belong, such as a VAT ID or a membership number for gated products.
- Filter payment methods. Show only the methods you've actually enabled. If you're offering buy now, pay later, remember it's surfaced conditionally based on cart value, customer eligibility, and merchant configuration, so build UI states for both "eligible" and "not shown."
- Localize the experience. Currency formatting, translated field labels, and country-specific payment method fallbacks all need to load before the checkout renders, not after.
- Add upsells carefully. An order-summary widget that suggests an add-on works well; a modal that interrupts the payment step kills conversion.
- Wire the data flow. Create the order server-side, pass the order ID or client secret to the browser, confirm payment client-side, then reconcile the final state through a webhook.
Pro Tip: Build your custom fields to fail gracefully. If a VAT ID lookup API times out, let the customer proceed and validate asynchronously. A blocked checkout over a slow third-party call is a lost sale, not a compliance win.
How Do Order Creation and Webhook Verification Work?
The security model for a customizable checkout hinges on a simple rule: never trust the client to tell you what was paid, which is why using the right security plugins for Shopify is crucial to protect checkout customizations and app extensions.
Create the order server-side first, using your own product and pricing data, and return only an order ID or client secret to the browser. This prevents a customer from tampering with the price in dev tools. From there, payment creation and confirmation should only fire from a genuine user action, like a button click, both because browsers block many automated payment popups and because it gives you a clean audit trail of intent.
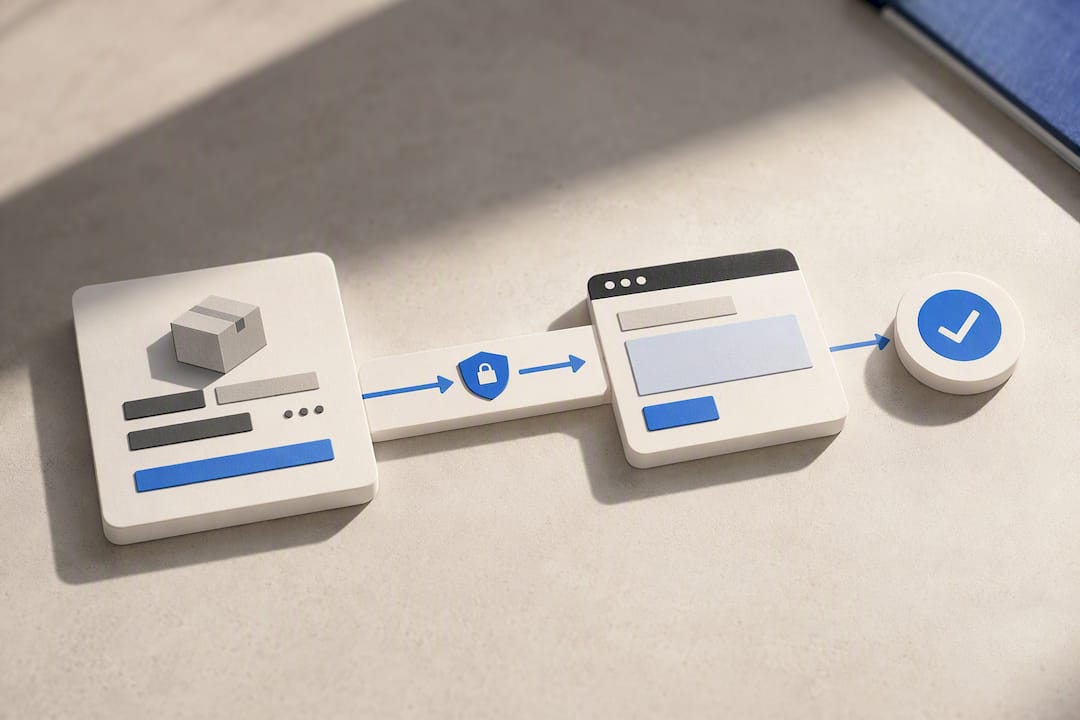
Once the payment provider responds, verify the signature or HMAC server-side before you mark an order as paid or ship anything. This single step blocks a huge share of checkout fraud attempts that rely on spoofed success callbacks.
A few operational habits matter just as much as the code:
- Store payment IDs so retried webhook deliveries don't double-fulfill an order.
- Build webhook handlers that acknowledge quickly and process reconciliation in the background.
- Design a fallback UI for when your CDN or payment network is slow, so customers see a status message instead of a frozen page.
Razorpay's integration documentation treats server-side order creation, user-triggered confirmation, and signature verification as the three non-negotiable steps in any secure custom checkout, and that sequence holds regardless of which provider you build on.
What Should Your Checkout Testing Checklist Cover Before Launch?
Treat go-live as a staged rollout, not a flag flip.
- Run every payment flow, including redirects and BNPL, against test mode and test card numbers before touching production keys.
- Confirm your KYC or merchant account verification is complete, since live API keys typically won't activate until that's cleared.
- Test webhooks locally through a forwarding tool, and confirm signature verification rejects tampered payloads.
- Set up alerts for payment error rates, checkout conversion drops, and page latency, since a slow checkout script is often the first sign of a broken customization.
- Roll out behind a feature flag or canary release, and A/B test any visual change against your existing checkout before a full swap.
The Commas Take on Building Checkout Infrastructure Yourself
Most teams underestimate how much ongoing maintenance a custom checkout demands: webhook retries, payment method updates, fraud rule tuning. It never really stops.
Commas takes a different bet: integrate payments and funnels into one account instead of stitching together a checkout provider, a funnel tool, and a separate upsell system. Its AI layer optimizes funnel structure against patterns that already convert, so a creator selling a course doesn't need to hand-build A/B tests to find a working checkout flow. Teams with standard product, subscription, or community billing needs get more from this kind of integrated platform than from custom infrastructure; teams with genuinely unusual billing logic still have reason to build their own.
— FanBasis
Skip the Checkout Build. Start Selling Instead.
If you've read this far weighing hosted elements against a full custom build, there's a third option worth a look: don't build checkout infrastructure at all. Commas gives creators and small teams payments already wired into sales funnels, so custom fields, upsells, and payment method logic come configured, not coded from scratch.
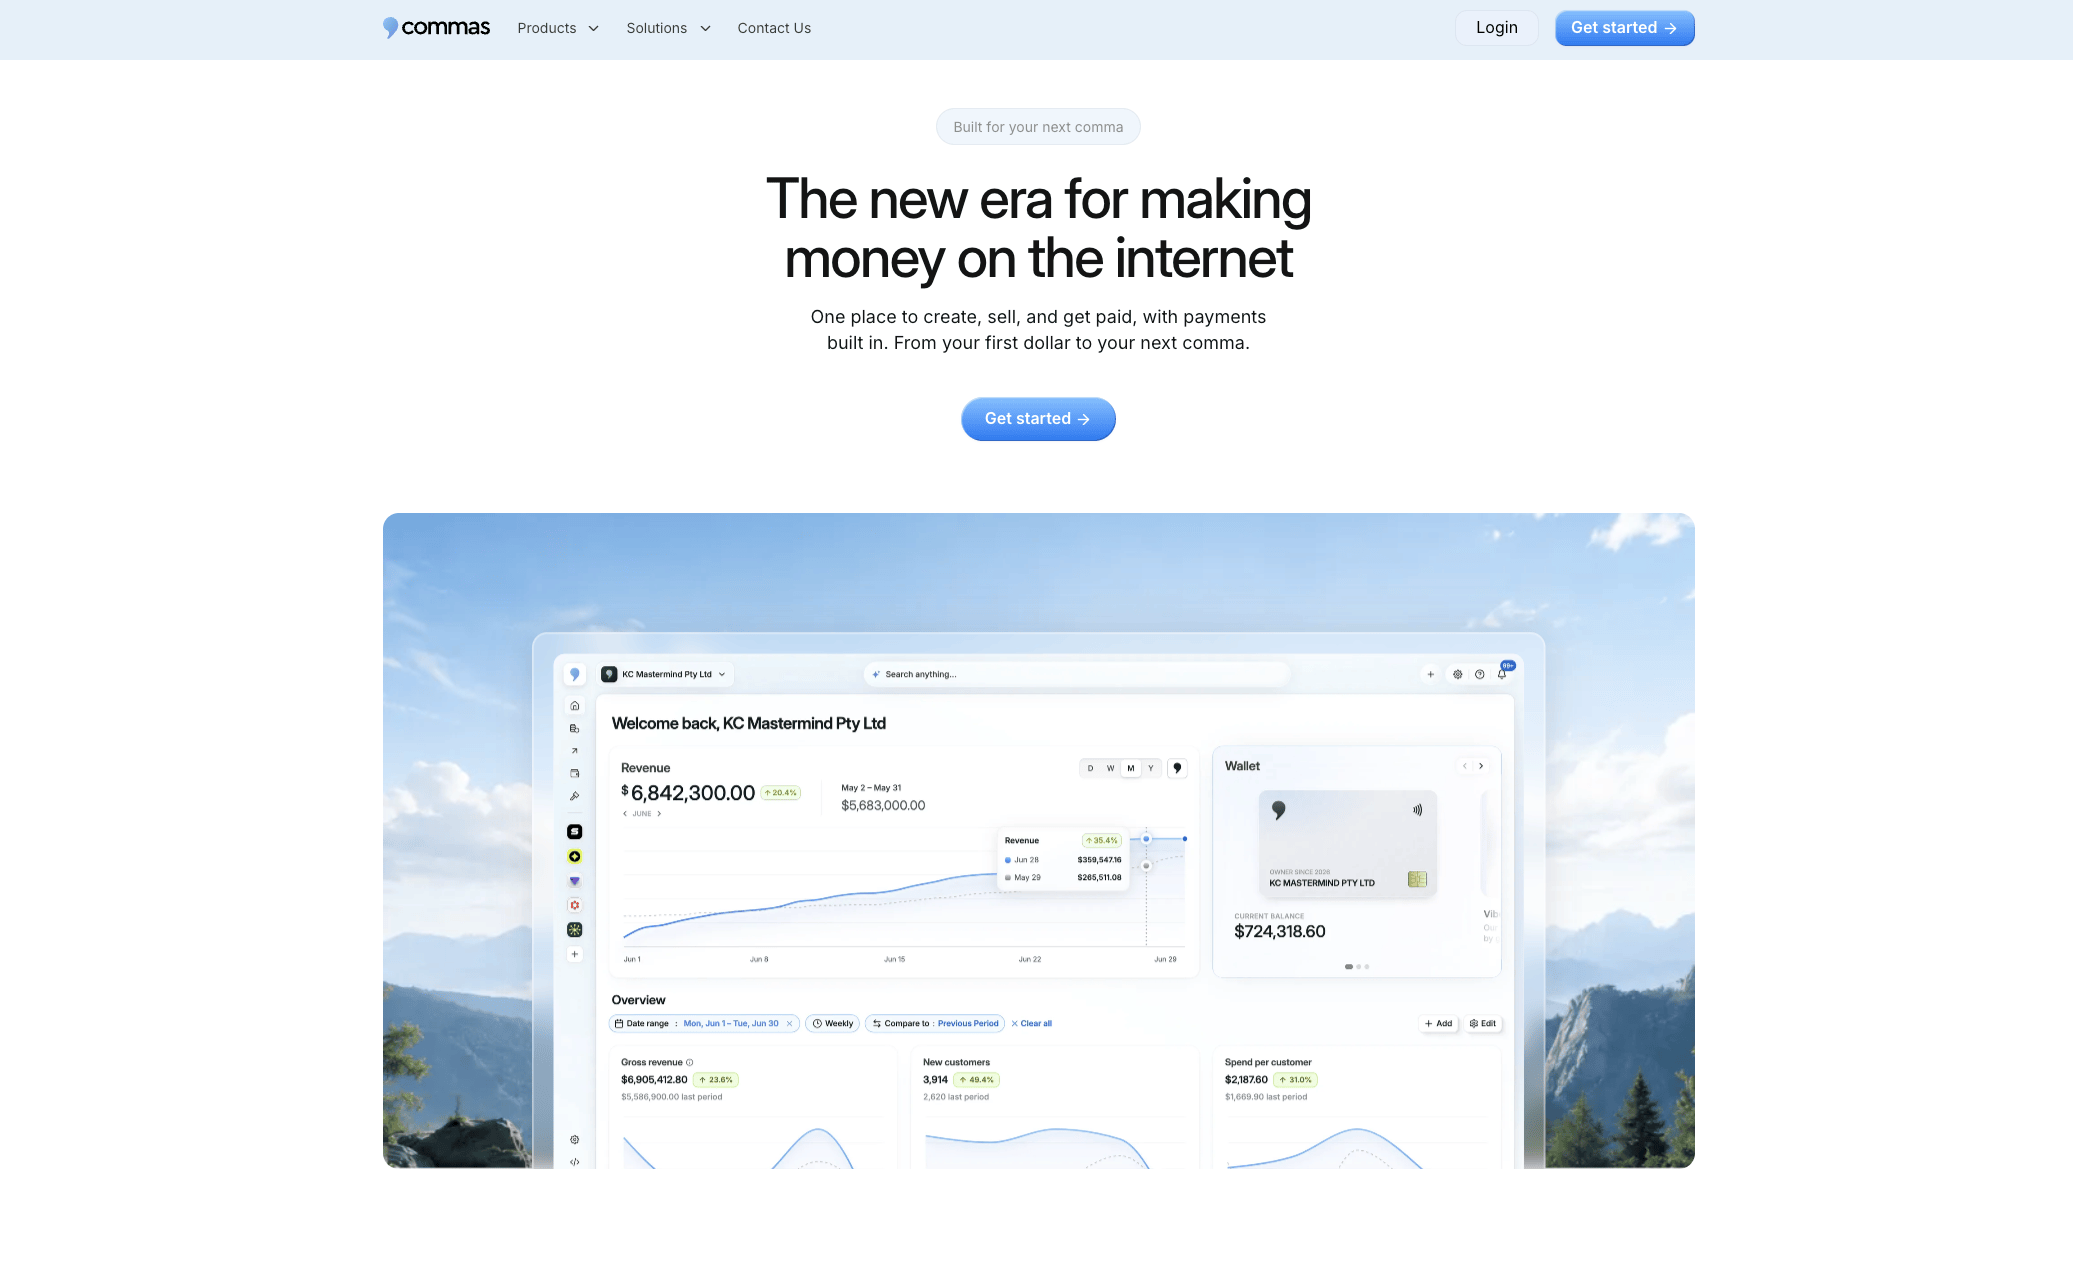
Pair that with Vibe Funnels, which uses AI to structure your funnel around patterns that already convert, and you get most of what a custom checkout build promises, without the webhook debugging or PCI scope decisions this article just walked through. If your monetization involves affiliates or partner payouts, the Affiliate Center handles commission tracking on top of the same checkout. Start a trial and see your first funnel live in under an hour.